Easy to Make Mothers Day Pop Up Cards
Read all of the steps before starting.
- Step 1: Choose a Pattern and Print It
-
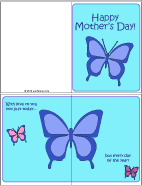
Choose the card you want to make and download the pattern. Each card pattern has two pieces: the top piece is the outside of the card, and the bottom piece is the inside of the card. Print the pattern on white paper or cardstock. The card will be sturdier if it is made using cardstock. Note: The butterfly pop-up is more difficult to cut than the heart pop-up. If you like, download and print the matching envelope for your pop-up card. Follow the instructions on the pattern for making the envelope.
Related craft: See the Envelopes to Make craft project for another style of envelope that fits these cards.
Tip: You can also add a heart pop-up to any handmade or commercial card using the Separate Pop-Ups pattern below. This pattern includes heart pop-ups in four sizes; the largest size fits the cards made in Aunt Annie's greeting card tutorials, and the smaller sizes fit the Heart-Shaped Cards. To use these pop-ups, pick one that fits inside your card and follow the directions below for making the pop-up and gluing it inside a card.
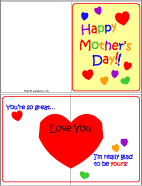
Tip: Use the Customize patterns as they are OR you can write on the heart pop-up to make it just right for your mother or any person you want to honor on Mother's Day.
Heart Pop-Up Card
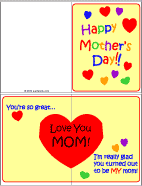
Customize
Butterfly Pop-Up Card
Plain Heart Pop-Ups
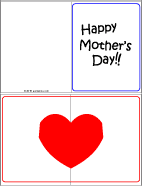
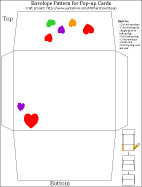
Heart Envelope
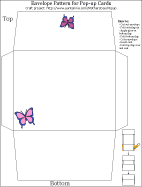
Butterfly Envelope
Separate Heart Pop-Ups

Patterns are Adobe PDF files. The Adobe Reader is available for free.
All of Aunt Annie's project patterns are designed to be printed on standard letter-size paper (8.5"x11" or A4). When printing from Adobe Reader, you may need to select Auto-Rotate and Center or Choose paper source by PDF page size to ensure the best fit.
- Step 2: Color (optional)
-
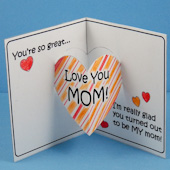
If you printed a black & white pattern, color it with markers or colored pencils. Pick any colors you like to color the card. Pick red for the heart, maybe black and yellow for the butterfly, or do something wild! How about zigzag stripes? Use your imagination!
Tip: Stripes are an easy way to color a heart pop-up.
Tip: You may want to write a message on the inside of the card now.
- Step 3: Cut
-
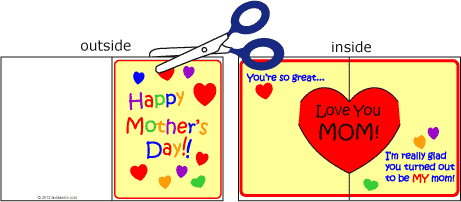
Cut out each pattern piece on the solid black line. Try to make your cuts very straight. The card will look better and fit together more easily with straight edges.
Tip: It is easier to make straight cuts with a craft knife and ruler. Protect the table with thick cardboard or a cutting mat. Place the ruler along the line being cut, then carefully draw the craft knife along the ruler's edge. Be sure to keep your fingertips away from the knife. Kids, be sure to get adult help when using a craft knife!
- Step 4: Fold
-
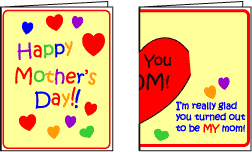
Fold both pieces in half on the center line. Fold them so that the marks are on the outside. If you are using cardstock, score the fold lines first.
-
To score: Turn the card with the printed side up. Score along the center fold line using the bone folder or empty ballpoint pen to make an indent, not a cut.
-
Tip: Make a sharp crease by running your thumbnail firmly along the fold.
- Step 5: Cut Pop-Up
-
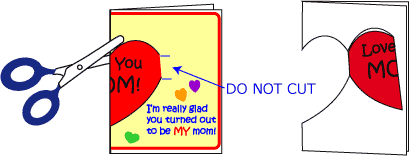
The pop-up is on the inside card piece and is folded in half. Cut around the heart or butterfly on the solid line, leaving the unmarked edge of the pop-up uncut. Fold the pop-up back and forth along this uncut edge.
-
Tip: The unmarked edge on the butterfly pop-up is on the outside of the upper part of the wing.
- Step 6: Refold Pop-Up
-
Unfold the card's inside piece, and refold it the opposite way. Open the card and pull the pop-up toward you. Change the pop-up from a valley fold to a mountain fold. Fold the card in half and press to sharpen the creases.

- Step 7: Glue Card Pieces Together
-
Put glue on one half of the inside piece, and then slide the two card parts together. That is, put the pop-up piece inside of the card's outside piece. Press. Turn the card over, and put glue on the other half of the inside piece. Press again. Be careful not to get any glue on the pop-up.
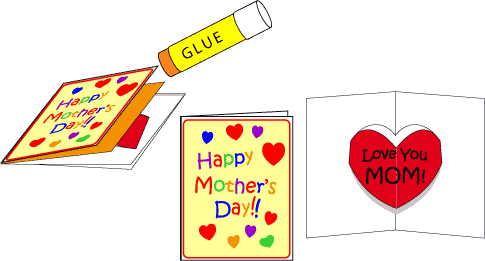
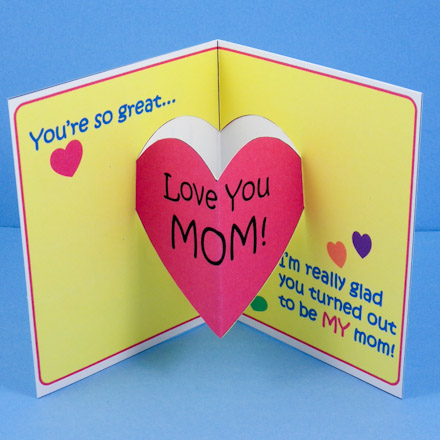
Your card is now complete! Open it to see the pop-up.
Source: https://www.auntannie.com/MothersDay/Popup/
0 Response to "Easy to Make Mothers Day Pop Up Cards"
Post a Comment